 Logobundle
What makes a good die-cut sticker
A die-cut sticker is cut along the outline of the design, not as a rectangle. That changes what works: the outline has to be one smooth line a blade can follow, and everything inside it has to survive being printed a few centimetres wide.
From upload to die-cut sticker
How the design shapes the cut
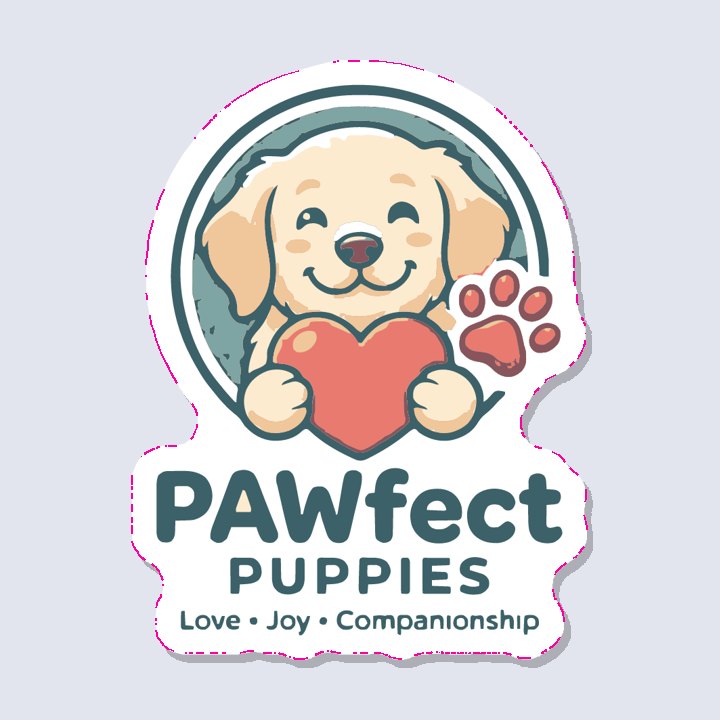
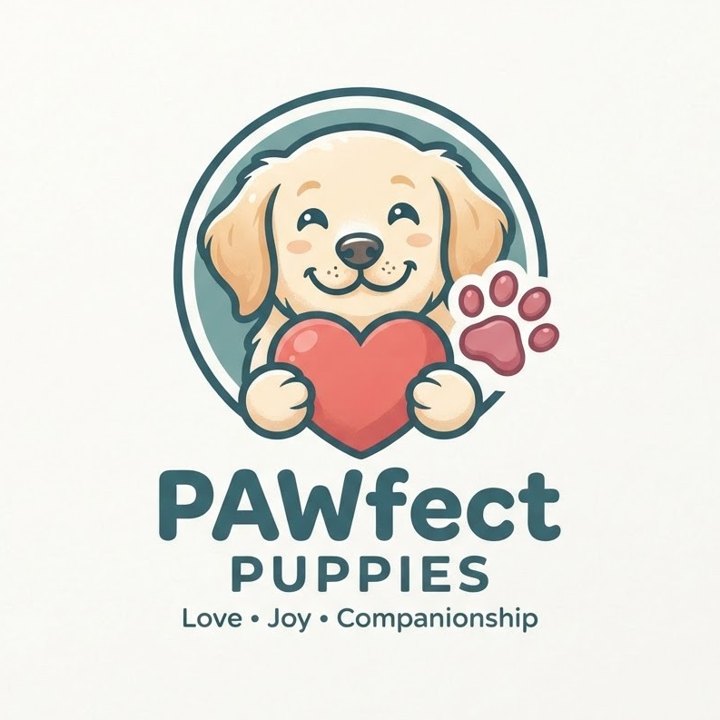
Real outlines from four test uploads. Compact designs and text close to the symbol give a smooth cut; detail stays inside the border; a blurry photo gives a lumpy outline.

Compact shape

Text under a symbol

Detailed line art
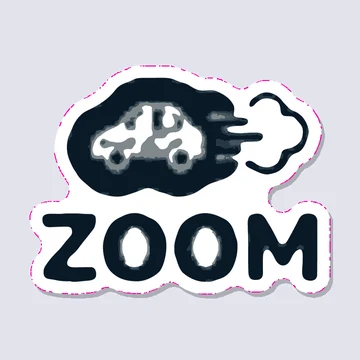
Blurry photo
One connected shape
The blade cuts one closed line around the whole design. If your design is a symbol with text far below it, the cut either joins them with a bridge of white or falls back to a rectangle. Keep parts close together, or put them on a shape (a circle, a badge, a speech bubble) so they read as one piece.
Thin parts that stick out, like antennas, whiskers or long serifs, give the cut a narrow neck that tears when you peel the sticker. A white border of about 3 mm at 75 mm sticker size covers most of them; the cut line rounds inner corners so the blade does not snag.
Bold lines and big text
At 50 mm wide, a line thinner than about half a millimetre prints as a blur or disappears, and text with letters under 2–3 mm tall becomes hard to read. Taglines that look fine on a screen are usually the first thing to go. If the design has small text, make the sticker bigger or leave the tagline off.
Flat colours print cleaner than gradients, glow and soft shadows. Neon colours on screen are brighter than any printer can reproduce, so expect them a little duller on paper.
A plain background
The cut line follows the art, so the art has to be separable from its background. A design on plain white or a transparent background gives a clean outline. A photo of a scene, a design printed on a T-shirt mockup or a picture with a busy background has no clear edge, and the sticker comes out as a rounded rectangle.
Asking an image generator for a sticker works best with words like "die-cut sticker, flat colours, bold outline, simple shape, isolated on a plain white background".
The files for each way of cutting
Print shops want a PDF with the cut line as a separate spot colour named CutContour and a few millimetres of bleed. Cricut Design Space takes an SVG with a print layer and a cut layer for Print Then Cut. The free Silhouette Studio opens the cut line as DXF. For printing at home and cutting with scissors, a 300 dpi PNG is enough.
Cricut and Silhouette lay out the sheet and add registration marks themselves: upload one sticker and set the number of copies there. Ready-made A4 or Letter sheets are for print shops and hand cutting.
See your sticker before you pay
Preview free. Sticker files €4.99, paid once.
Questions
- How big should a sticker be?
- 50 to 100 mm on the longer side covers laptops, bottles and notebooks. 75 mm (3 inches) is the most common size at print shops. Detailed designs need the larger sizes.
- How wide should the white border be?
- About 3 mm at 75 mm. It hides small cutting tolerances, smooths the outline and keeps thin parts attached. Scale it with the sticker: 2 mm at 50 mm, 4 mm at 100 mm.
- Can I upload a design that already looks like a sticker?
- Yes. A design on a plain background with its own white border keeps that border, and the new cut line adds the even border around it. On a white background the old border blends in and only the new one remains.
More answers in the main FAQ.